- My Data Dojo
- Posts
- Building a Practical Reward Model
When we talk about aligning Large Language Models (LLMs), we often hear about Reinforcement Learning from Human Feedback (RLHF). It’s the technique that powered much of the magic behind models like ChatGPT and Claude. But if you’ve ever tried to implement it, you quickly realize the most challenging part isn’t the "RL" (Reinforcement Learning) but the "HF" (Human Feedback).
Collecting high-quality human feedback seems daunting. It sounds expensive, slow, and requires massive, perfectly labeled datasets. Many teams stop here, assuming it’s out of reach without a dedicated annotation workforce and a seven-figure budget.
But what if I told you that you don’t need a perfect dataset or a million labels to get started? You can build a genuinely useful reward model with just a few thousand well-structured examples. The key isn't the quantity of data, but its structure and the strategy behind its collection.
In this post, we’ll walk through a pragmatic, developer-first approach to building a reward model. We'll start with the data you might already have, move to a structured collection process, and finally, train a model that can act as an automated judge for your AI's outputs. By the end, you'll have a clear mental model and a practical roadmap for creating your own feedback loop.
Part 1: The Art and Science of Collecting Human Preferences
Before we can train a model to understand what "good" looks like, we first need to teach it by example. This starts with data. But not all data is created equal.
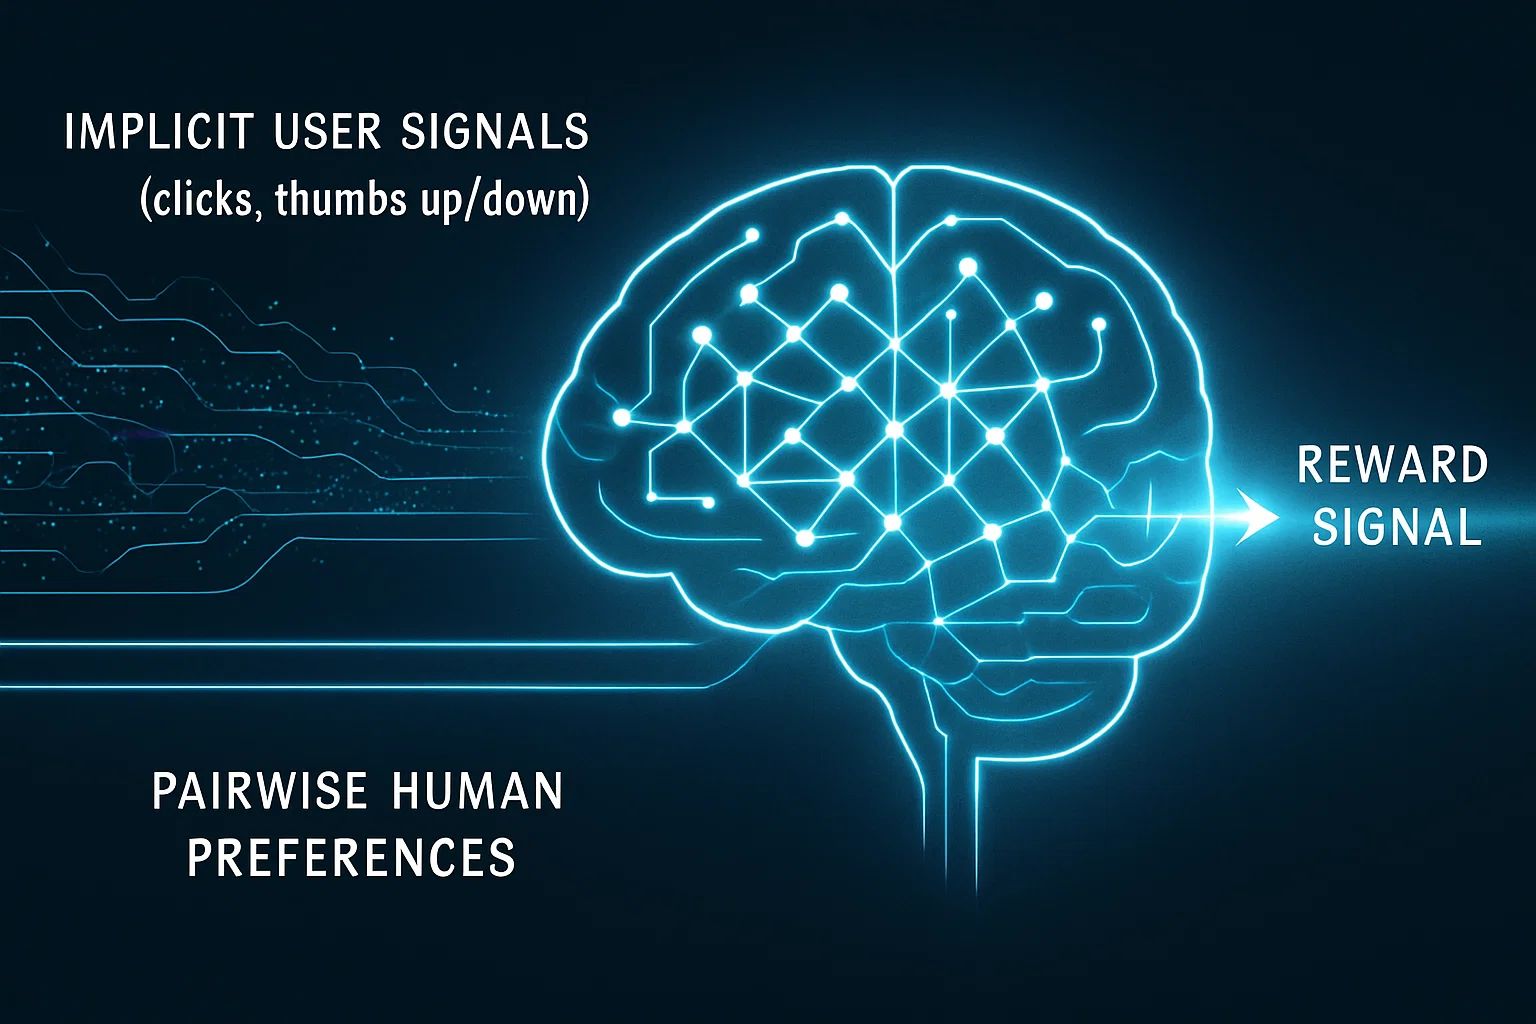
Step 1: Start with What You Have (Implicit Feedback)
If your application has any form of user interaction, you likely have a source of implicit feedback already. This includes things like:
Thumbs up / thumbs down buttons: The most direct signal.
"Copy to clipboard" actions: Users often copy responses they find useful.
User edits: If a user corrects a model's output, the edited version is implicitly a "better" response.
Session length or follow-up questions: A long, engaged conversation might indicate a helpful interaction.
This data is "free" in the sense that you're not paying annotators for it. However, it's also incredibly noisy. A "thumbs down" could mean the response was factually wrong, had the wrong tone, or was simply not what the user was looking for at that moment.
The Takeaway: Don't dismiss this data. Use it as a starting point. It’s excellent for coarse-grained analysis, like identifying prompts where your model consistently performs poorly or filtering out obviously bad generations. The most critical piece of infrastructure here is logging. For every interaction, make sure you store the prompt, the full response, the model_version, and the timestamp alongside the user's action. This metadata is gold.
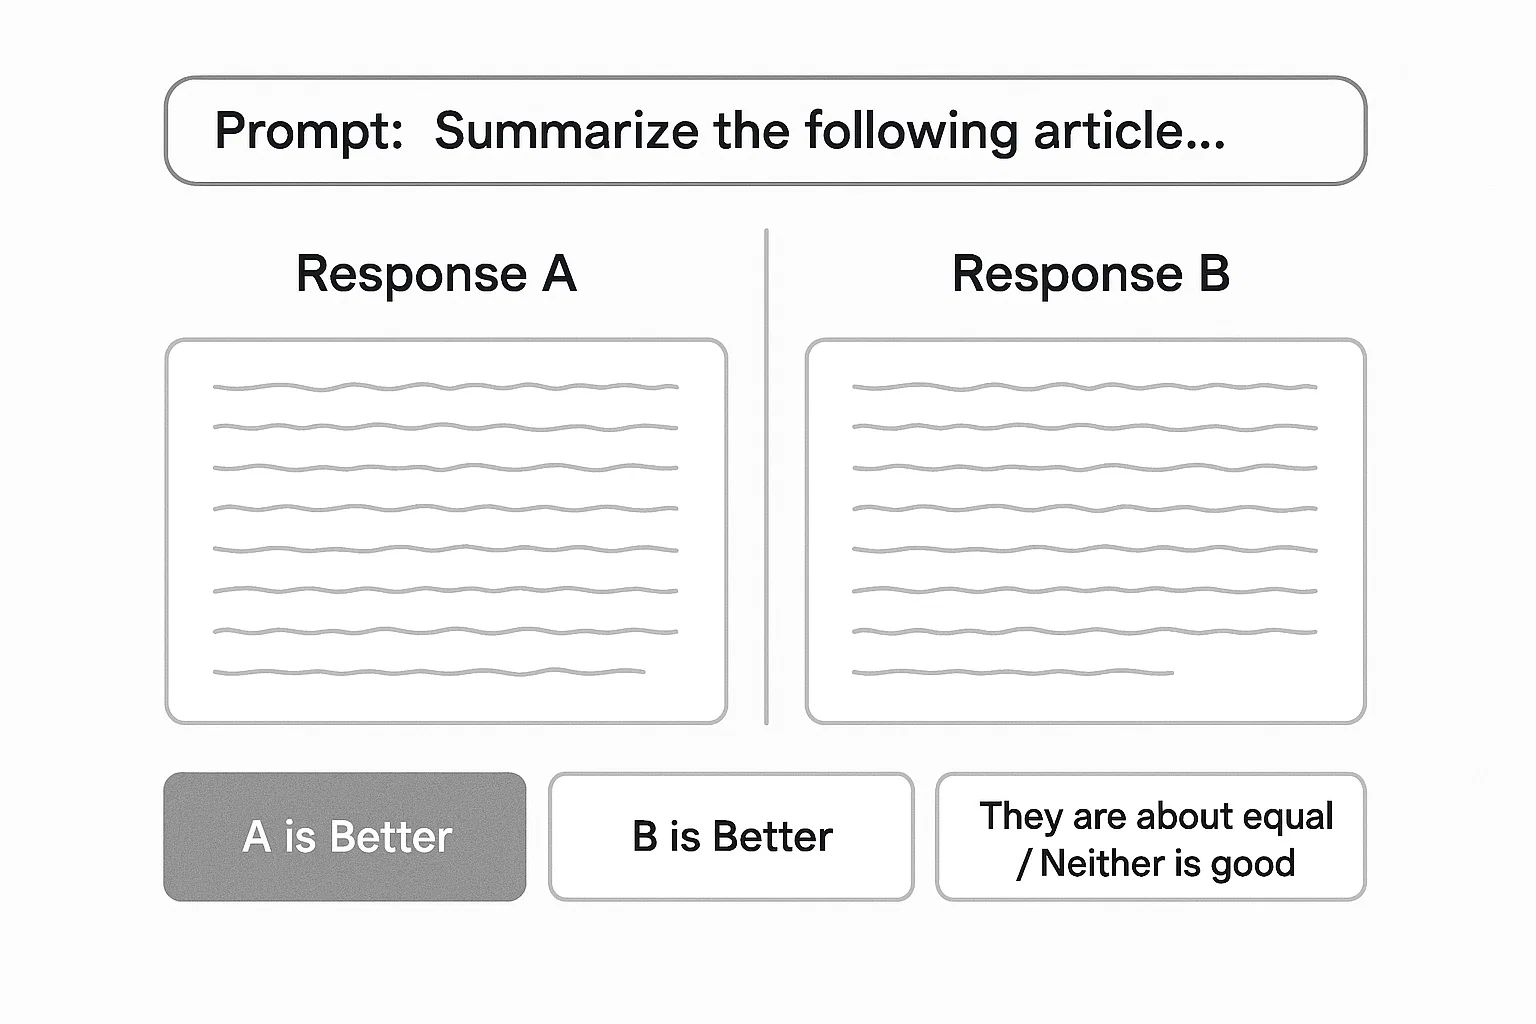
Step 2: Level Up with Explicit Pairwise Comparisons
To get a cleaner, more reliable signal, we need to be more deliberate. The industry standard for this is pairwise comparison. Instead of asking a rater, "How good is this response on a scale of 1-5?", you show them two responses (Response A and Response B) to the same prompt and ask a much simpler question: "Which one is better?"
Why is this format so powerful?
It’s easier for humans. Judging relative quality is cognitively less demanding than assigning an absolute score. This leads to more consistent and reliable labels, especially across different annotators.
It sidesteps rater drift. One person's "4-star" response might be another's "3-star." But most people will agree on which of two responses is better, especially if the quality difference is clear.
It directly maps to the training objective. As we'll see, the goal of a reward model is to learn a function
R(prompt, response)such thatR(chosen_response) > R(rejected_response). Pairwise labels give us exactly the data we need for this.
When setting up this task, a few best practices will save you a lot of headaches:
Randomize the position of A and B. This prevents positional bias, where raters might subconsciously favor the response on the left or right.
Write crystal-clear instructions. Define what "better" means for your use case. Is it more helpful? More concise? More creative? More aligned with your company's brand voice? Provide examples of good and bad decisions.
Allow for ties or "neither is good." This is valuable information. It tells you when your model's outputs are indistinguishable or when both are failing.
Step 3: Sample Strategically
You don't need to label every single output. Your time and budget are finite, so focus your annotation efforts where they'll have the most impact. Think of this as an active learning problem. Sample from areas where:
The model is uncertain. Collect data on prompts where different model versions have a close win rate (e.g., around 50/50). This is where the model needs the most guidance.
Offline evals don't match online metrics. If your academic benchmarks say Model X is better, but user engagement metrics prefer Model Y, dig in. Collect preference data on those prompts to understand the discrepancy.
You're optimizing for subjective qualities. Things like politeness, creativity, or safety are notoriously hard to measure with automated metrics. Human preference is the ground truth here.
Step 4: Structure Your Data for Success
Once you have the feedback, store it in a structured, queryable format. A simple JSONL file or a database table will do. Each entry should look something like this:
{
  "prompt": "Explain the concept of a reward model in simple terms.",
  "response_a": "A reward model is a classifier trained on human preferences...",
  "response_b": "It's like a judge for an AI. You show it two answers...",
  "model_a_version": "my-model-v1.1",
  "model_a_version": "my-model-v1.2-experimental",
  "winner": "response_b",
  "annotator_id": "annotator_42",
  "task_type": "explanation",
  "timestamp": "2025-08-06T14:30:00Z"
}
This structure is your foundation. It allows you to slice and dice your data, train models on specific task types, analyze annotator agreement, and track model performance over time.
Part 2: Training a Reward Model That Is Actually Useful
With a few thousand of these structured preference pairs, you're ready to train. A reward model (RM) is fundamentally a regression model. It takes a (prompt, response) pair as input and outputs a single scalar value—a score—that represents its predicted "goodness."
The goal is simple: for every pair in your dataset, the model should learn to give a higher score to the response that humans preferred.
The Architecture: A Familiar Friend with a New Hat
You don't need to build a new architecture from scratch. The standard approach is to take a pre-trained transformer model (e.g., Mistral 7B, Llama 3 8B, or even a smaller DistilBERT) and modify its "head."
Instead of the usual language modeling head that predicts the next token, you add a simple linear layer on top of one of the final hidden states (often the one corresponding to the [EOS] or end-of-sequence token). This linear layer is trained to output a single number: the reward score.
By using a pre-trained base, you're leveraging all the rich linguistic understanding the model already has. You're just fine-tuning it for a new, very specific task: predicting human preference.
The Training Process and Loss Function
The training loop feeds the RM pairs of winning and losing responses. The magic lies in the loss function, which is typically a pairwise ranking loss.

Here’s the intuition:
For a given prompt, you compute the reward score for the chosen response:
score_chosen = RM(prompt, chosen_response).You also compute the score for the rejected response:
score_rejected = RM(prompt, rejected_response).The loss function aims to maximize the difference
(score_chosen - score_rejected).
A common formulation is the Bradley-Terry model, which gives us the loss: loss = -log(sigmoid(score_chosen - score_rejected))
Let's break that down. The sigmoid function squashes the score difference into a range between 0 and 1, representing the probability that the chosen response is indeed better. The -log part turns this into a loss we can minimize: when the model is confident and correct (i.e., score_chosen is much larger than score_rejected), the loss is low. When it's wrong, the loss is high.
Libraries like Hugging Face's trl have made this process incredibly accessible with tools like the RewardTrainer, abstracting away much of the boilerplate code.
You might also hear about Direct Preference Optimization (DPO).
DPO is a more recent technique that achieves a similar outcome but skips the explicit step of training a separate reward model. Instead, it uses the same preference data to directly fine-tune the LLM policy. It's powerful and often more stable, but understanding the reward modeling process first provides a solid conceptual foundation.
Part 3: Putting Your Reward Model to Work
So, you've trained your first reward model. What can you do with it? This is where the investment pays off.
Automated Evals and Regression Testing: This is the most immediate benefit. Before shipping a new model version, you can create a test set of a few thousand diverse prompts. Generate responses from both your old and new models. Then, use your RM to score every single response. By comparing the average reward scores, you get a scalable, automated signal of whether your new model is actually an improvement, without waiting for a multi-day human evaluation.
Filtering and Reranking at Inference: Your LLM can often generate multiple candidate responses for a single prompt (e.g., by using a non-zero temperature or beam search). Instead of just picking the first one, you can generate, say, three candidates, have your RM score each one, and serve the highest-scoring response to the user. This can significantly improve the perceived quality of your product with minimal latency overhead.

The Foundation for RLHF/DPO: Finally, your reward model is the critical "R" signal in an RLHF pipeline. The LLM (the "policy") generates a response, the RM scores it, and that score is used as a reward to update the policy's weights via an RL algorithm like PPO. This closes the loop, allowing the model to actively learn to generate outputs that will score higher on your reward model.
Final Thoughts
Moving from a world without human feedback to one with a working reward model is a step-function change for any ML team working with language models. It allows you to operationalize subjective qualities, scale your evaluation process, and build a powerful flywheel where your models get progressively better and more aligned with your users' needs.
The key takeaways are:
Start small and be strategic. You don't need a massive dataset. A few thousand high-quality pairwise comparisons are more valuable than a million noisy clicks.
Structure is everything. A well-defined data format and clear annotation guidelines are non-negotiable.
Leverage existing tools. Use pre-trained base models and libraries like
trlto accelerate your development.A reward model is a means, not an end. Its value comes from how you use it: for evaluation, for reranking, and ultimately, for fine-tuning the next generation of your models.
The path to building aligned AI isn't reserved for a few large labs. It's an engineering problem that can be broken down into manageable, practical steps. By starting with a focused data collection strategy, you can build a reward model that provides a durable, scalable, and incredibly valuable signal for your entire development lifecycle.